

In this guide
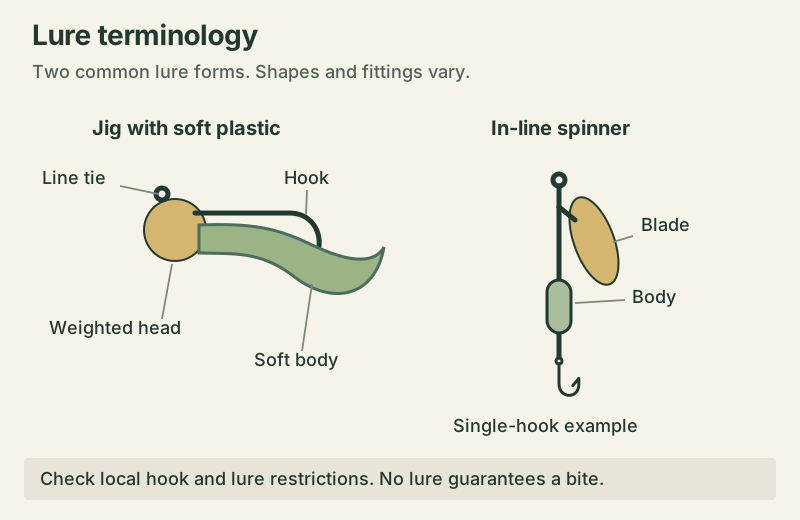
A leader is a separate length of line between the main line and lure. It can provide a different material near the lure or make a worn terminal section easier to replace. On a straightforward monofilament outfit in open water, tying directly to a suitable lure may be enough.
Decide what the leader must do
Write down the job before selecting material: abrasion management around cover, a different presentation from braided main line, or bite protection for a particular species. Ordinary nylon and fluorocarbon are not a substitute for an appropriate bite-resistant trace when targeting toothy predators.
Fluorocarbon is denser and often stiffer than nylon. It is not literally invisible, and the label alone does not guarantee a better catch rate. Check actual diameter, handling and manufacturer guidance rather than converting diameter into a supposed universal breaking strain.
A simple assembly routine
- Inspect the main line and cut back any worn section.
- Select a leader that suits the target, cover and tackle rating. For the first practice, use materials of reasonably similar diameter.
- Join the two lines with a compatible connection such as a correctly tied double uni. Check each side before seating the join.
- Choose the lure connection. A snug terminal knot is suitable for many eyes; use a fixed loop only where the lure’s design benefits from it.
- If using a snap or split ring, follow the lure manufacturer’s guidance and check that the fitting closes correctly.
- Draw the assembly through the rod guides without a hook under tension. Make sure the joining knot does not catch or strike the guides awkwardly.
Swivels have a specific purpose
A swivel can help with line twist from a rotating lure, but it is not needed on every lure connection. A large snap-swivel beside a small lure adds weight and hardware. Start with the simplest suitable arrangement and add a component only when you can explain its function.
Inspect during the trip
Feel and look for roughness after contact with rocks, a snag or a fish. Check the knot and the short section beside the lure eye, where repeated contact concentrates wear. Replace damaged line rather than hiding it inside a fresh knot.
Learn the boundary of this setup
This is a light freshwater connection lesson, not a pike, muskie, saltwater or heavy-cover specification. Those situations need their own trace and tackle choices. For your next session, keep the lure and retrieve constant while checking how the chosen connection behaves.
Questions from the bank
Keep it helpful. Comments are moderated. Do not share precise locations or personal information.
No approved comments yet. Ask a practical question or share what you learned.